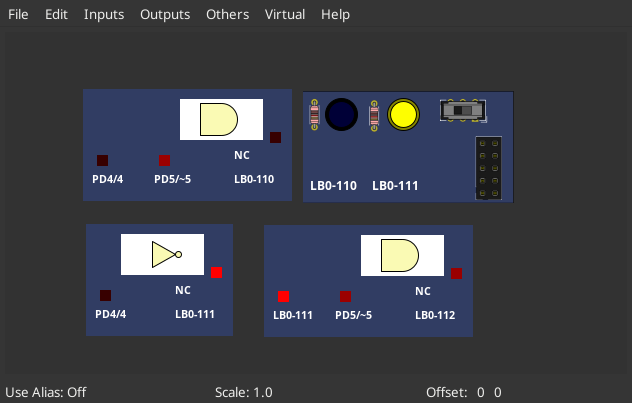
[Arduino_Nano/atmega328p/FreqModulation] Frequency modulation using logic blocksFrequency modulation of pulses using and and not logic gates blocks.FreqMod.ino | |
 |
Download (pzw)
View Online |
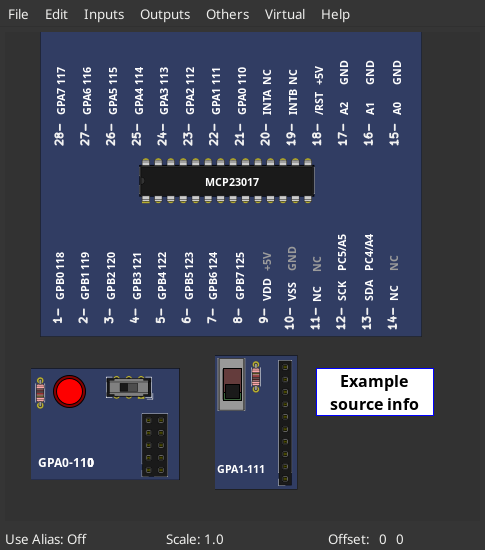
[Arduino_Nano/atmega328p/I2C_IOexpander] MCP23017 example from Adafruit MCP23017 Arduino Library// I2C IO expander controls an LED via an attached button. mcp23xxx_combo.ino | |
 |
Download (pzw) |
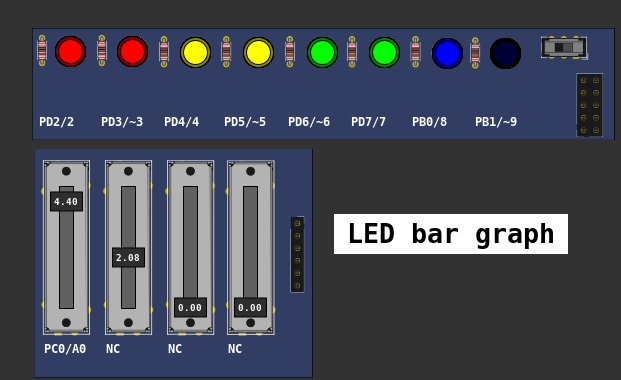
[Arduino_Uno/atmega328p/display_bargraph] LED bar graphTurns on a series of LEDs based on the value of an analog sensor. This is a simple way to make a bar graph display. Though this graph uses 10 LEDs, you can use any number by changing the LED count and the pins in the array. This method can be used to control any series of digital outputs that depends on an analog input. The circuit: - LEDs from pins 2 through 9 to ground created 4 Sep 2010 by Tom Igoe This example code is in the public domain. http://www.arduino.cc/en/Tutorial/BarGraphbarGraph.ino | |
 |
Download (pzw)
View Online |
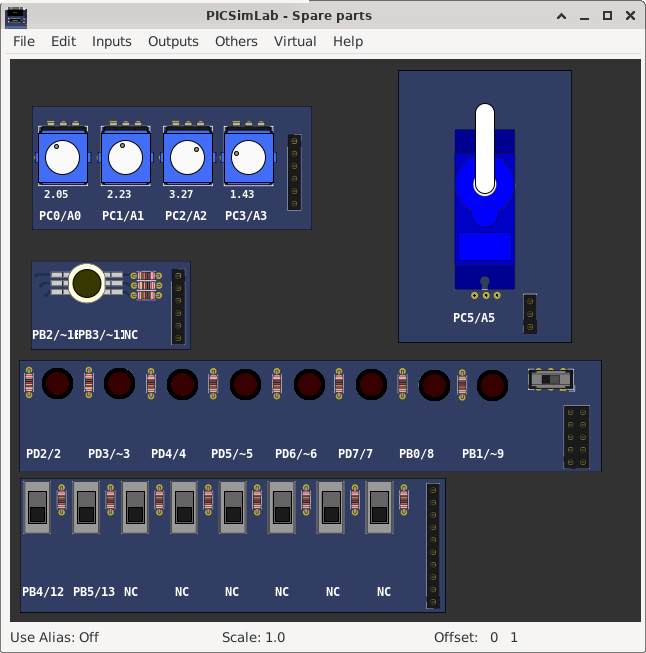
[Arduino_Uno/atmega328p/firmata] Firmata Library - Standard FirmataFirmata is a generic protocol for communicating with microcontrollers from software on a host computer. It is intended to work with any host computer software package. To download a host software package, please click on the following link to open the list of Firmata client libraries in your default browser. https://github.com/firmata/arduino#firmata-client-libraries Copyright (C) 2006-2008 Hans-Christoph Steiner. All rights reserved. Copyright (C) 2010-2011 Paul Stoffregen. All rights reserved. Copyright (C) 2009 Shigeru Kobayashi. All rights reserved. Copyright (C) 2009-2016 Jeff Hoefs. All rights reserved. This library is free software; you can redistribute it and/or modify it under the terms of the GNU Lesser General Public License as published by the Free Software Foundation; either version 2.1 of the License, or (at your option) any later version. See file LICENSE.txt for further informations on licensing terms. Last updated August 17th, 2017 StandardFirmata.ino | |
 |
Download (pzw) |
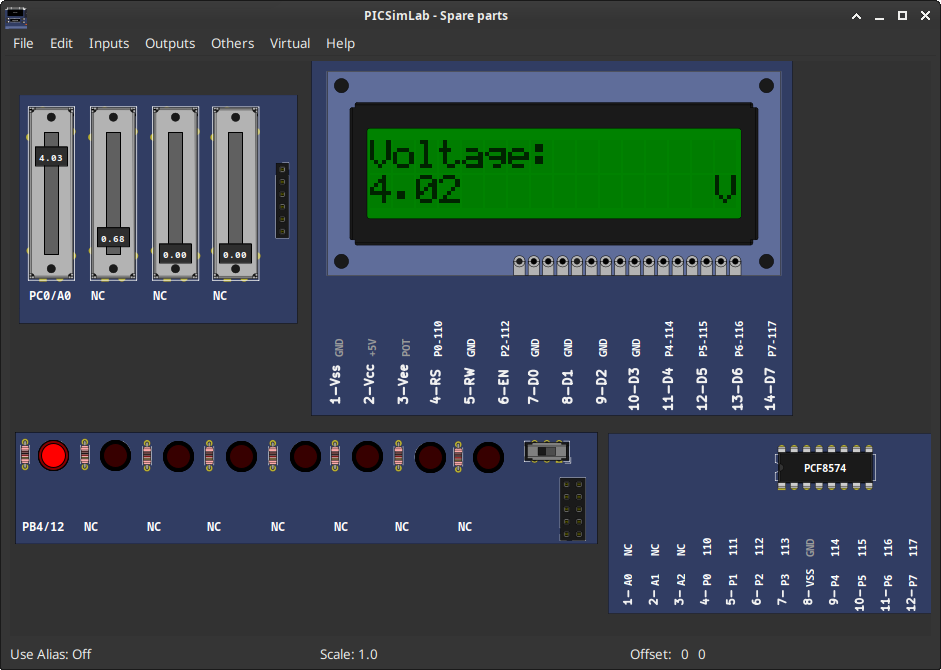
[Arduino_Uno/atmega328p/FreeRtos] Projeto simples com FreeRTOS e ArduinoPrincipais conceitos de RTOS para iniciantes com Arduino e FreeRTOS escrito por Pedro Bertoleti. | |
 |
Download (pzw) |
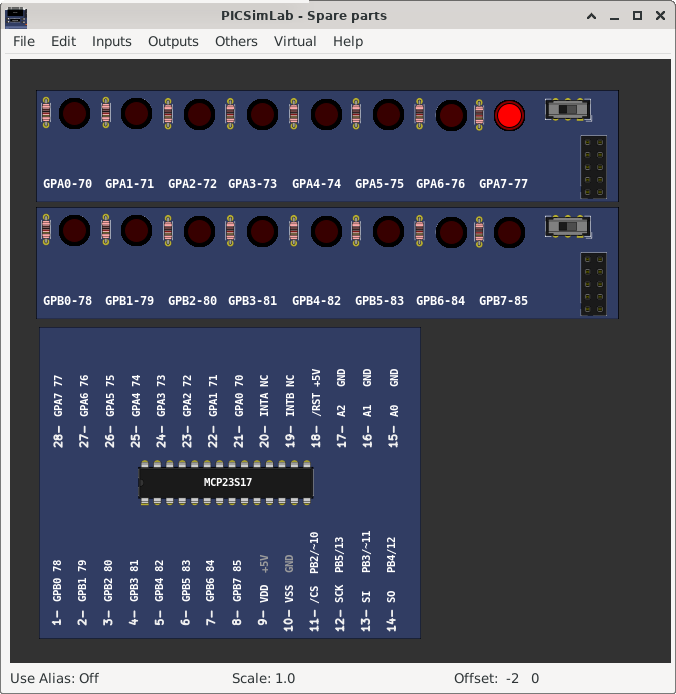
[Arduino_Uno/atmega328p/IO_expander] MCP23S17 IO expanderMCP23S17_outtest.ino MCP23S17 library exampleMCP23S17_outtest.ino | |
 |
Download (pzw)
View Online |
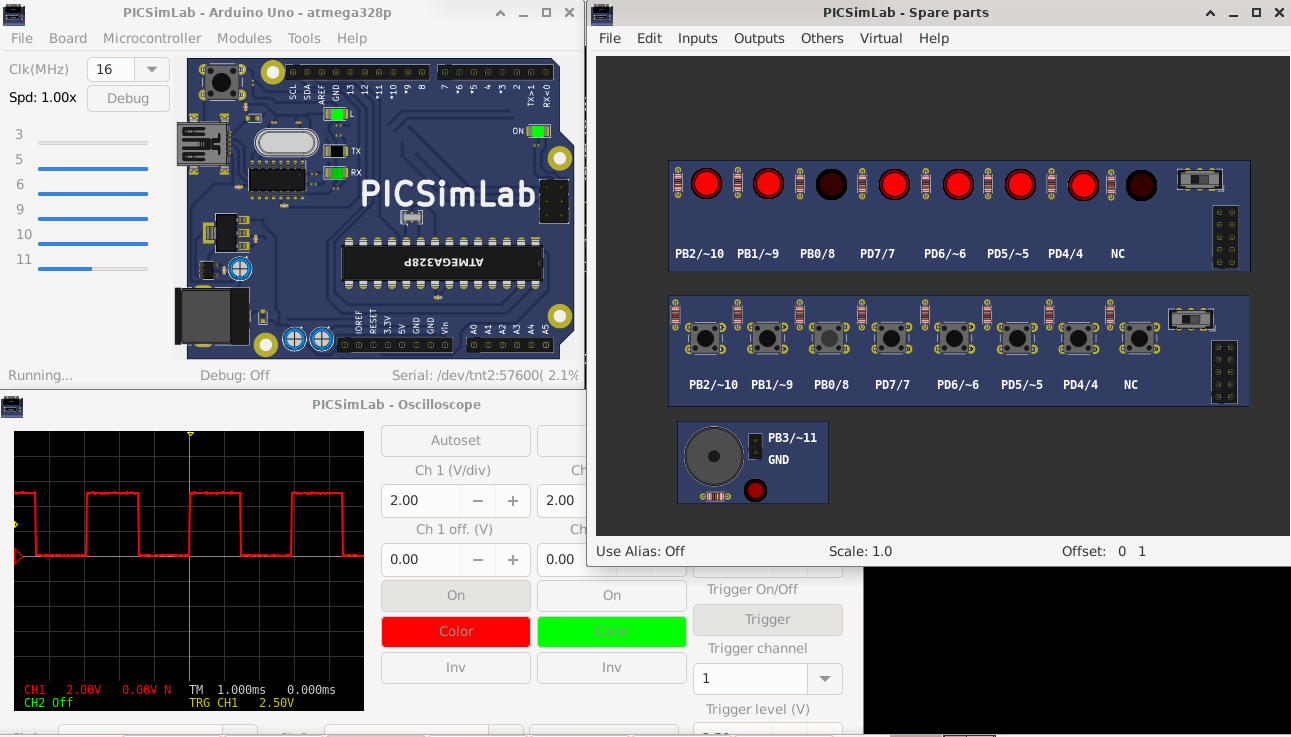
[Arduino_Uno/atmega328p/Piano] Arduino PianoArduino Tutorial Mini Piano Visit the Channel for more interesting projects https://www.youtube.com/channel/UCks-9JSnVb22dlqtMgPjrlgpiano.ino | |
 |
Download (pzw)
View Online |
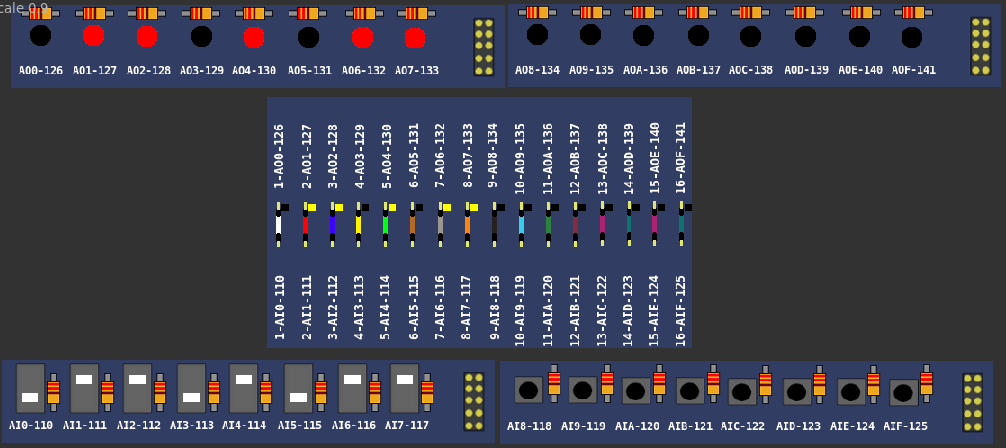
[Arduino_Uno/atmega328p/wires] Jumper Wires exampleThis examples show the use of jumper wires to direct connect parts. The microcontroller is not used on example. | |
 |
Download (pzw)
View Online |
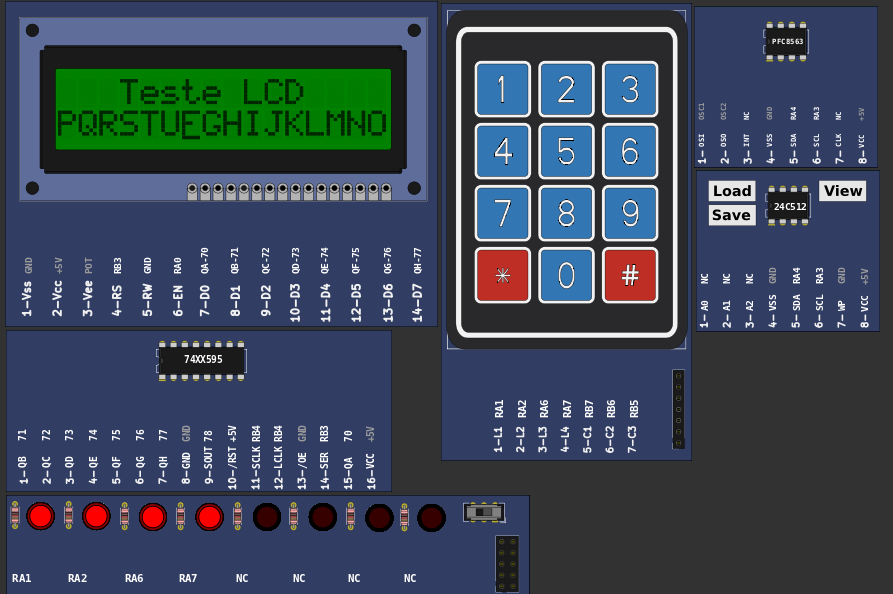
[Breadboard/PIC16F628A/test_b0_2]Simple example for testing board features.1- Tests LCD display; 2- Test the red LEDs connected to the PORT. 3- Tests matrix keyboard 4- External eeprom test 24LC512 5- Test RTC PCF8563 6- Test serial port sending 7- Tests receiving serial port 8- Read keyboard and send through serial portMPLABX test_b0_2 project | |
 |
Download (pzw)
View Online |
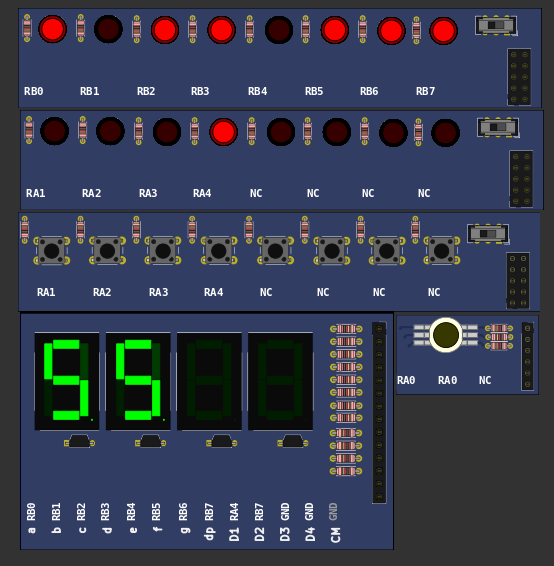
[Breadboard/PIC16F628A/test_b0]Simple example for testing board features.1- Tests 7-segment display; 2- Lamp flashes in RA0 (At this moment, change the jumper position to "LED"); 3- Tests red LEDs connected to the PORTB; 4- Test the buttons; 5- Test the green LEDs connected to the PORTA.MPLABX test_b0 project | |
 |
Download (pzw)
View Online |
[Breadboard/PIC16F648A/test_b0]Simple example for testing board features.1- Tests 7-segment display; 2- Lamp flashes in RA0 (At this moment, change the jumper position to "LED"); 3- Tests red LEDs connected to the PORTB; 4- Test the buttons; 5- Test the green LEDs connected to the PORTA.MPLABX test_b0 project | |
 |
Download (pzw)
View Online |
[Breadboard/PIC16F777/test_b0]Simple example for testing board features.1- Ask to turn on all dip switches; 2- Tests LCD display; 3- Tests 7-segment displays; 4- Test the red LEDs connected to the PORTB and PORTD; 5- Tests push buttons; 6- Test the serial port transmitting; 7- Test the serial port receiving; 8- Tests AD converters connected to potentiometers; 9- Test Relays 10- Tests temperature measurement; 11- Turn on the Heater; 12- Turn on the fan and measure the speed. 13- Tests the matrix keyboard 14- Tests internal eepromMPLABX test_b0 project | |
 |
Download (pzw)
View Online |
[Breadboard/PIC16F84A/test_b0]Simple example for testing board features.1- Tests 7-segment display; 2- Lamp flashes in RA0 (At this moment, change the jumper position to "LED"); 3- Tests red LEDs connected to the PORTB; 4- Test the buttons; 5- Test the green LEDs connected to the PORTA.MPLABX test_b0 project | |
 |
Download (pzw)
View Online |
[Breadboard/PIC16F877A/test_b0]Simple example for testing board features.1- Ask to turn on all dip switches; 2- Tests LCD display; 3- Tests 7-segment displays; 4- Test the red LEDs connected to the PORTB and PORTD; 5- Tests push buttons; 6- Test the serial port transmitting; 7- Test the serial port receiving; 8- Tests AD converters connected to potentiometers; 9- Test Relays 10- Tests temperature measurement; 11- Turn on the Heater; 12- Turn on the fan and measure the speed. 13- Tests the matrix keyboard 14- Tests internal eepromMPLABX test_b0 project | |
 |
Download (pzw)
View Online |
[Breadboard/PIC18F452/test_b0]Simple example for testing board features.1- Ask to turn on all dip switches; 2- Tests LCD display; 3- Tests 7-segment displays; 4- Test the red LEDs connected to the PORTB and PORTD; 5- Tests push buttons; 6- Test the serial port transmitting; 7- Test the serial port receiving; 8- Tests AD converters connected to potentiometers; 9- Test Relays 10- Tests temperature measurement; 11- Turn on the Heater; 12- Turn on the fan and measure the speed. 13- Tests the matrix keyboard 14- Tests internal eepromMPLABX test_b0 project | |
 |
Download (pzw)
View Online |
[Breadboard/PIC18F4550/test_b0]Simple example for testing board features.1- Ask to turn on all dip switches; 2- Tests LCD display; 3- Tests 7-segment displays; 4- Test the red LEDs connected to the PORTB and PORTD; 5- Tests push buttons; 6- Test the serial port transmitting; 7- Test the serial port receiving; 8- Tests AD converters connected to potentiometers; 9- Test Relays 10- Tests temperature measurement; 11- Turn on the Heater; 12- Turn on the fan and measure the speed. 13- Tests the matrix keyboard 14- Tests internal eepromMPLABX test_b0 project | |
 |
Download (pzw)
View Online |
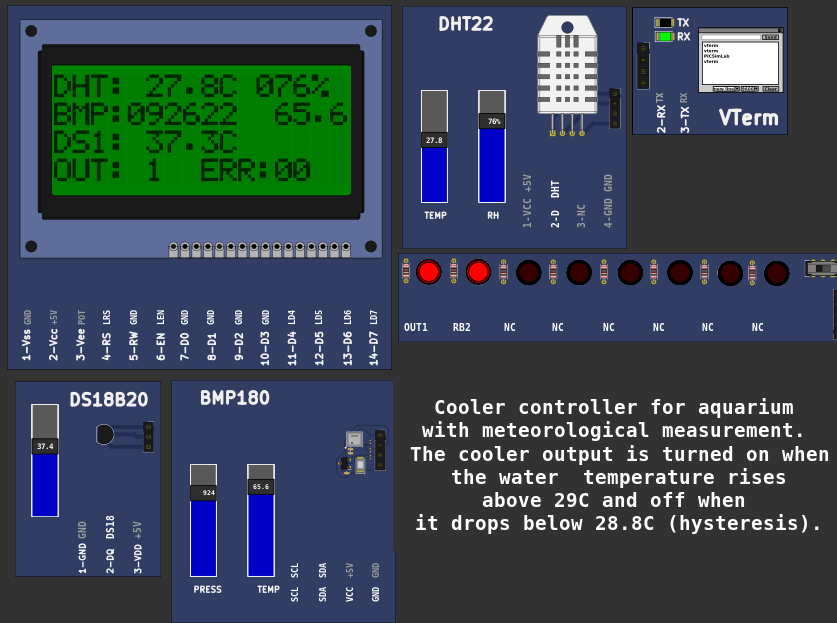
[Breadboard/PIC18F4620/Aqua18F]Cooler controller for aquarium with meteorological measurement.The cooler output is turned on when the aquarium water temperature rises above 29C and off when it drops below 28.8C (hysteresis).MPLABX Aqua18F project | |
 |
Download (pzw)
View Online |
[Breadboard/PIC18F4620/test_b0]Simple example for testing board features.1- Ask to turn on all dip switches; 2- Tests LCD display; 3- Tests 7-segment displays; 4- Test the red LEDs connected to the PORTB and PORTD; 5- Tests push buttons; 6- Test the serial port transmitting; 7- Test the serial port receiving; 8- Tests AD converters connected to potentiometers; 9- Test Relays 10- Tests temperature measurement; 11- Turn on the Heater; 12- Turn on the fan and measure the speed. 13- Tests the matrix keyboard 14- Tests internal eepromMPLABX test_b0 project | |
 |
Download (pzw)
View Online |
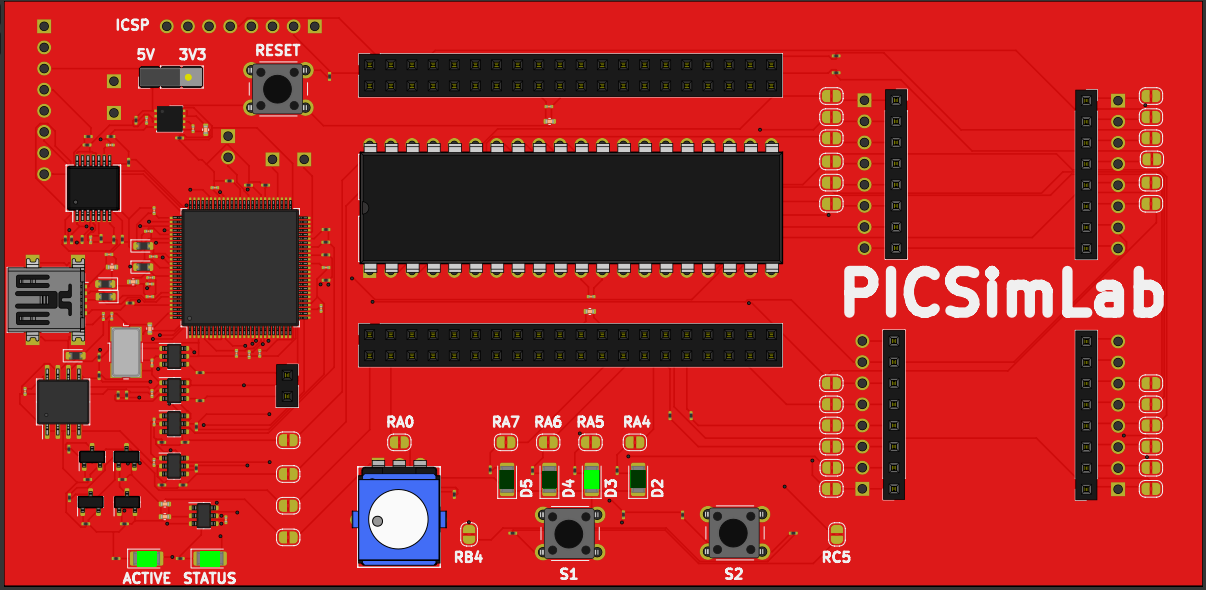
[Curiosity_HPC/PIC18F47K40/Led_Sequencer]LED SequencerSimple LED Sequencer code example. Press the switch to change direction and use the potentiometer to change speed. MPLABX blinkseq project | |
 |
Download (pzw)
View Online |
[Curiosity/PIC16F1619/Led_Sequencer]LED SequencerSimple LED Sequencer code example. Press the switch to change direction and use the potentiometer to change speed. MPLABX blinkseq project | |
 |
Download (pzw)
View Online |
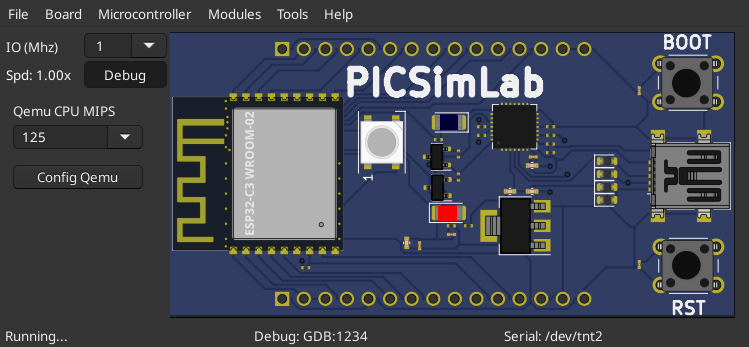
[ESP32_C3_DevKitC_02/ESP32-C3/ESP-NOW] Espressif ESP-NOW Example/* This example shows how to use ESPNOW. Prepare two device, one for sending ESPNOW data and another for receiving ESPNOW data. */ Build instructions and Source code | |
 |
Download (pzw) |
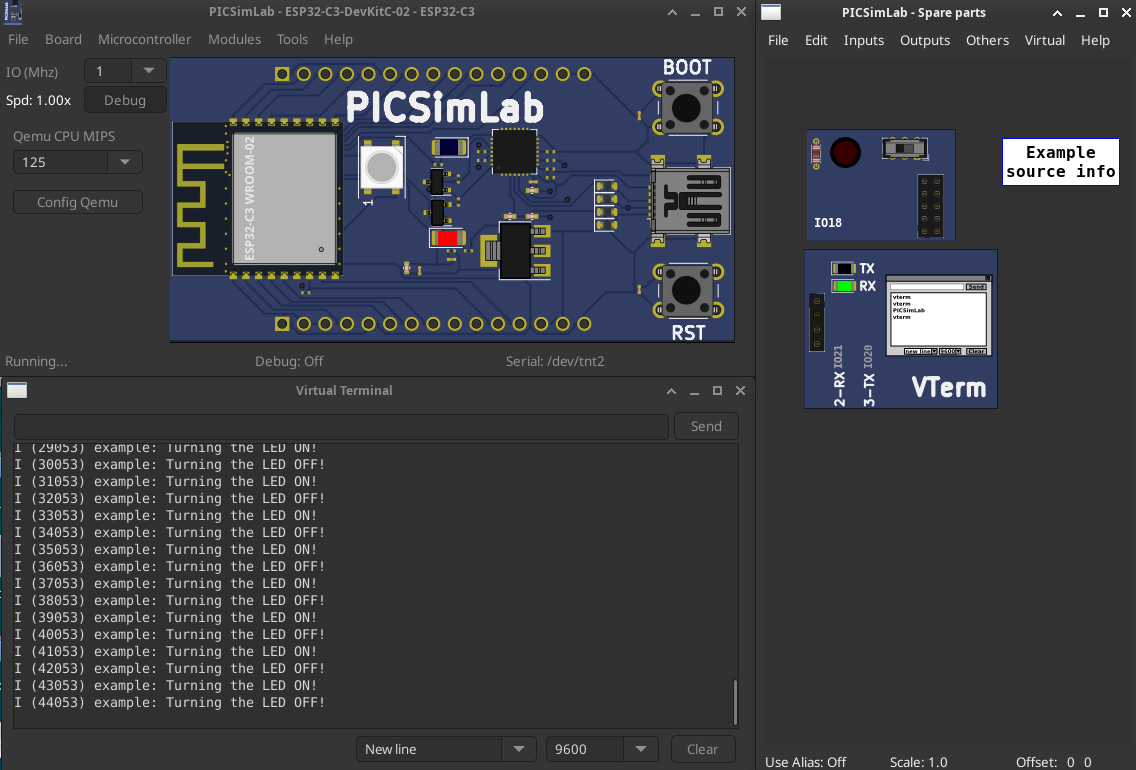
[ESP32_C3_DevKitC_02/ESP32-C3/idf_blink] Espressif ESP32-C3 Blink Example/* Blink Example This example code is in the Public Domain (or CC0 licensed, at your option.) Unless required by applicable law or agreed to in writing, this software is distributed on an "AS IS" BASIS, WITHOUT WARRANTIES OR CONDITIONS OF ANY KIND, either express or implied. */ Build instructions and Source code | |
 |
Download (pzw) |
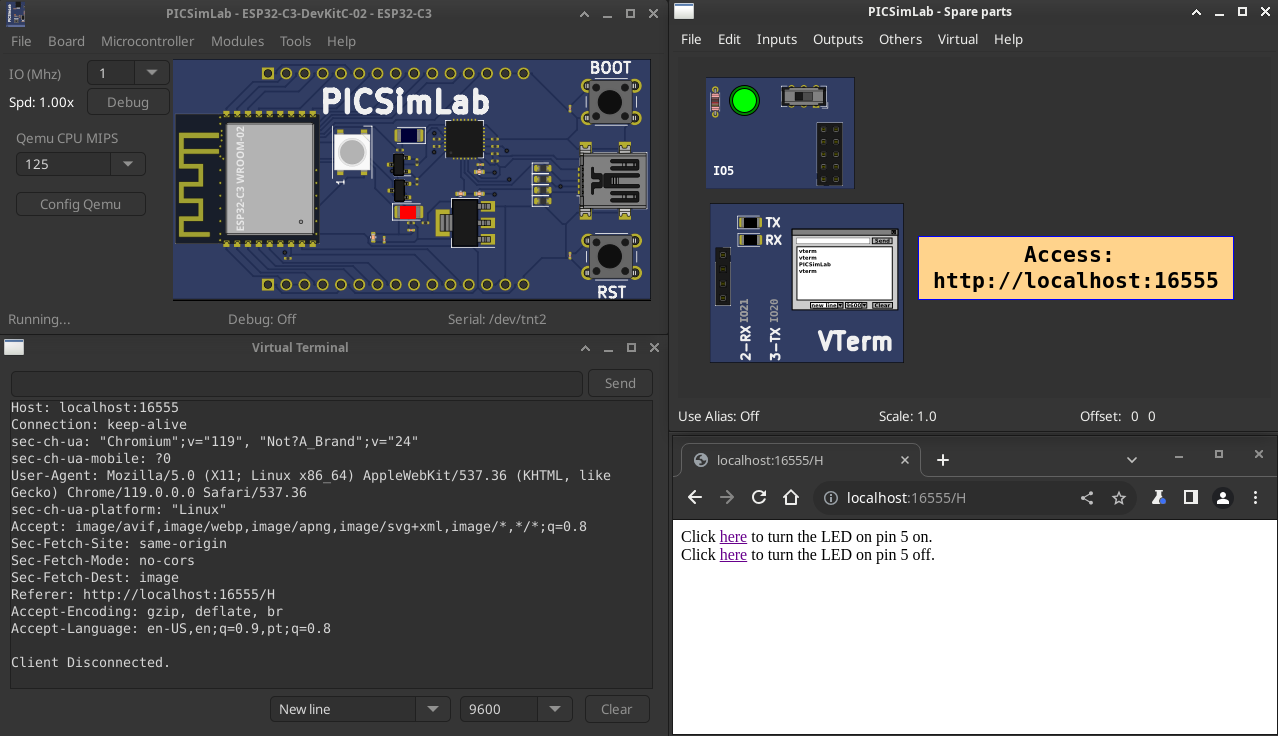
[ESP32_C3_DevKitC_02/ESP32-C3/SimpleWifiServer] WiFi Web Server LED BlinkA simple web server that lets you blink an LED via the web. This sketch will print the IP address of your WiFi Shield (once connected) to the Serial monitor. From there, you can open that address in a web browser to turn on and off the LED on pin 5. If the IP address of your shield is yourAddress: http://yourAddress/H turns the LED on http://yourAddress/L turns it off This example is written for a network using WPA encryption. For WEP or WPA, change the Wifi.begin() call accordingly. Circuit: * WiFi shield attached * LED attached to pin 5 created for arduino 25 Nov 2012 by Tom Igoe ported for sparkfun esp32 31.01.2017 by Jan Hendrik Berlin On PICSimLab qemu-esp32 simulator the Web server address is mapped in http://localhost:16555 Source code | |
 |
Download (pzw) |
[ESP32_DevKitC/ESP32/ESP-NOW] Espressif ESP-NOW Example/* This example shows how to use ESPNOW. Prepare two device, one for sending ESPNOW data and another for receiving ESPNOW data. */ Build instructions and Source code | |
 |
Download (pzw) |
[ESP32_DevKitC/ESP32/idf_blink] Espressif ESP32 Blink Example/* Blink Example This example code is in the Public Domain (or CC0 licensed, at your option.) Unless required by applicable law or agreed to in writing, this software is distributed on an "AS IS" BASIS, WITHOUT WARRANTIES OR CONDITIONS OF ANY KIND, either express or implied. */ Build instructions and Source code | |
 |
Download (pzw) |
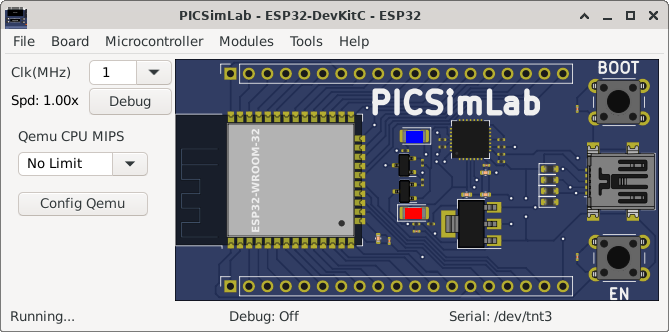
[ESP32_DevKitC/ESP32/micropython] ESP32 MicropythonOriginal Link: https://micropython.org/Before use this example it is necessary to configure a serial port emulator as described in the documentation. You can load the test code below using a serial terminal or an editor like Thonny or Mu. import machine import time led = machine.Pin(2, machine.Pin.OUT) while True: led.value(1) time.sleep(1) led.value(0) time.sleep(1) | |
 |
Download (pzw) |
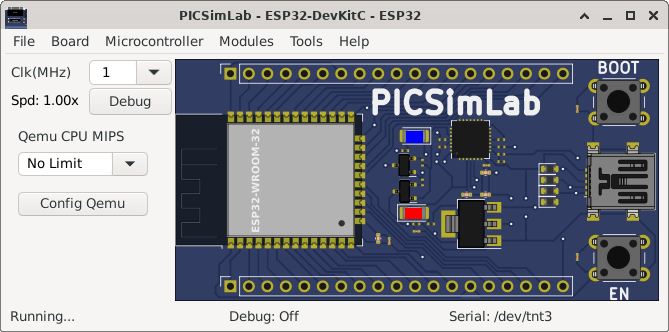
[ESP32_DevKitC/ESP32/NuttX_led] Blink LED no ESP32 com o RTOS NuttXExemplo simples de como piscar um LED utilizando o RTOS Nuttx no ESP32 escrito por Sara Monteiro. | |
 |
Download (pzw) |
[ESP32_DevKitC/ESP32/SimpleWifiServer] WiFi Web Server LED BlinkA simple web server that lets you blink an LED via the web. This sketch will print the IP address of your WiFi Shield (once connected) to the Serial monitor. From there, you can open that address in a web browser to turn on and off the LED on pin 5. If the IP address of your shield is yourAddress: http://yourAddress/H turns the LED on http://yourAddress/L turns it off This example is written for a network using WPA encryption. For WEP or WPA, change the Wifi.begin() call accordingly. Circuit: * WiFi shield attached * LED attached to pin 5 created for arduino 25 Nov 2012 by Tom Igoe ported for sparkfun esp32 31.01.2017 by Jan Hendrik Berlin On PICSimLab qemu-esp32 simulator the Web server address is mapped in http://localhost:16555 Source code | |
 |
Download (pzw) |
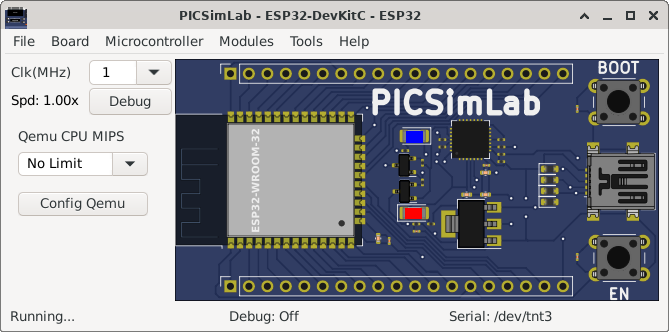
[ESP32_DevKitC/ESP32/zephyr_esp32_led] Blink LED no ESP32 e Zephyr RTOSExemplo simples de como piscar um LED utilizando o RTOS Zephyr no ESP32 escrito por Glauber Ferreira. | |
 |
Download (pzw) |
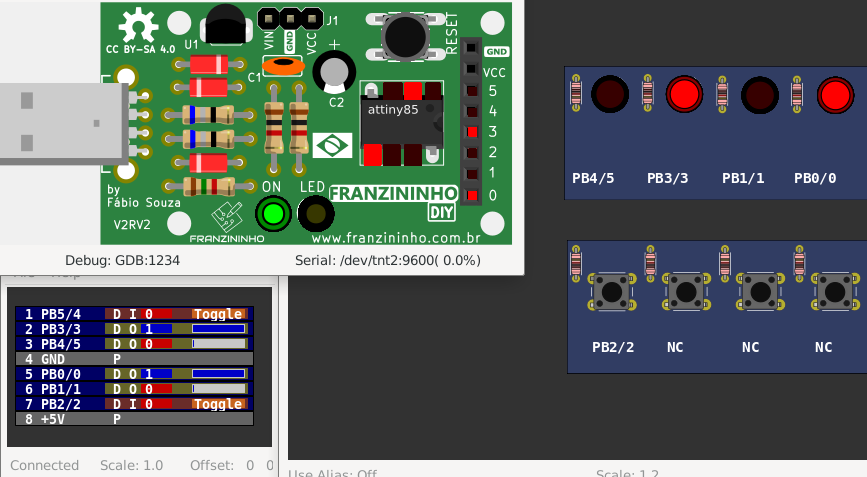
[Franzininho_DIY/attiny85/Contador_v3] Franzininho DIY - Contador de pulsos externosExemplos AVR Libc – Franzininho DIY do site Embarcados Link para o artigo e código: Contador de pulsos externos | |
 |
Download (pzw)
View Online |
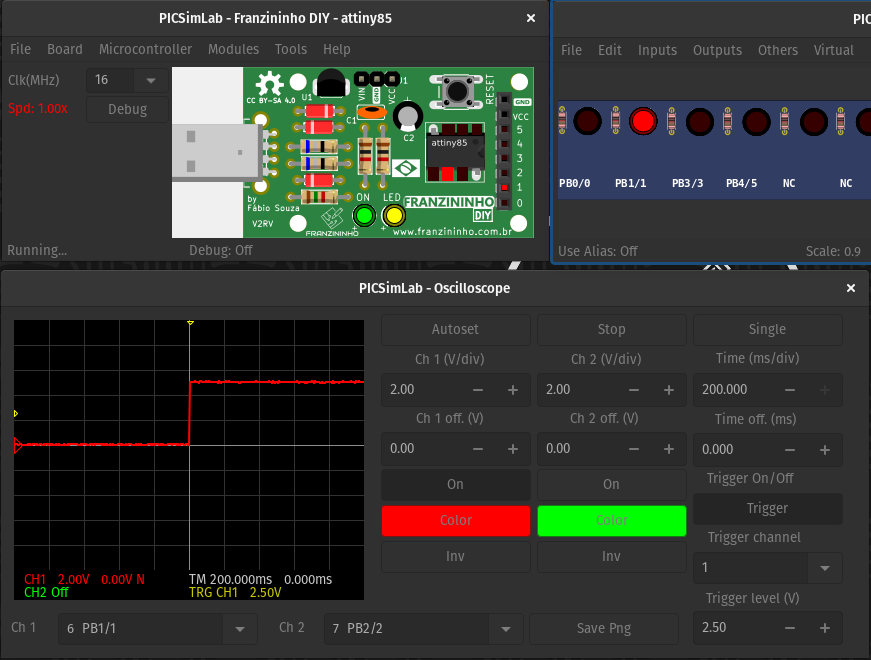
[Franzininho_DIY/attiny85/timer0_ovf] Franzininho DIY - AVR LibC: Timer0Exemplos AVR Libc – Franzininho DIY Documentação Franzininho Link para o texto e código: Franzininho DIY - AVR LibC: Timer0 | |
 |
Download (pzw)
View Online |
[gpboard/pic16f628a/test_b0]Exemplo simples para teste dos recursos da placa.1- Testa display de 7 segmentos; 2- Pisca lâmpada em RA0 (Neste momento trocar posição do jumper para "LED"); 3- Testa LEDs vermelhos ligados ao PORTB; 4- Testa os botões; 5- Testa os LEDs verdes ligados ao PORTA.MPLABX test_b1 project Others compilers test_b1 project | |
 |
Download (pzw)
View Online |
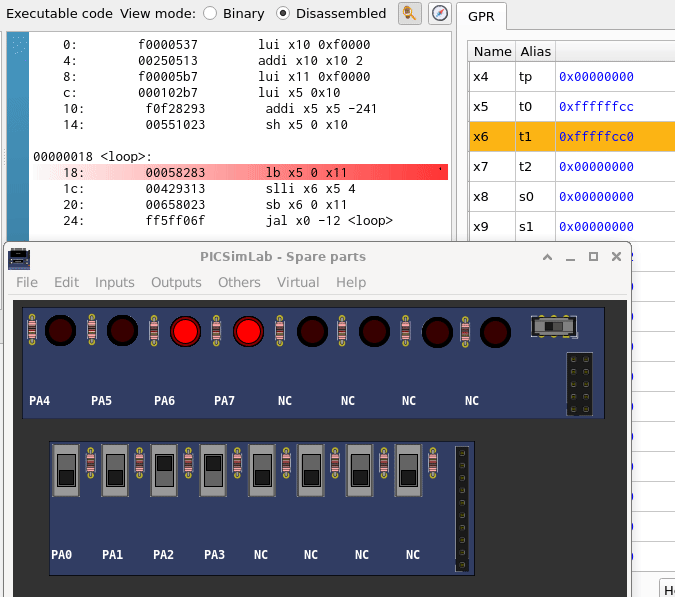
[Remote_TCP/Ripes/LED_SW]LED switches Ripes PICSimLab exampleHow to use this example: - Load LED_SW.pzw on PICSimLab (experimental version) - Open Ripes (experimental version) and connect the external bus device. - Open the file led_sw.s on Ripes and run. led_sw.s source code file | |
 |
Download (pzw) |
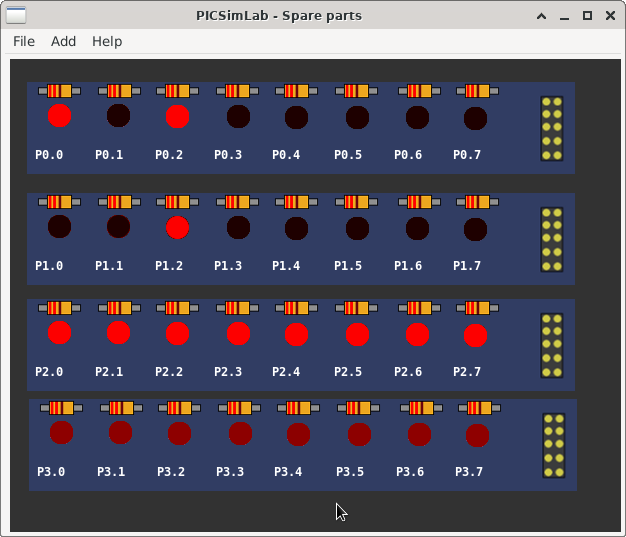
[uCboard/C51/Blink] 8051 SDCC led blink// Blink LEDs : Using Delay Function // compiled with: sdcc -mmcs51 blink.c -o blink.hexSource code | |
 |
Download (pzw)
View Online |
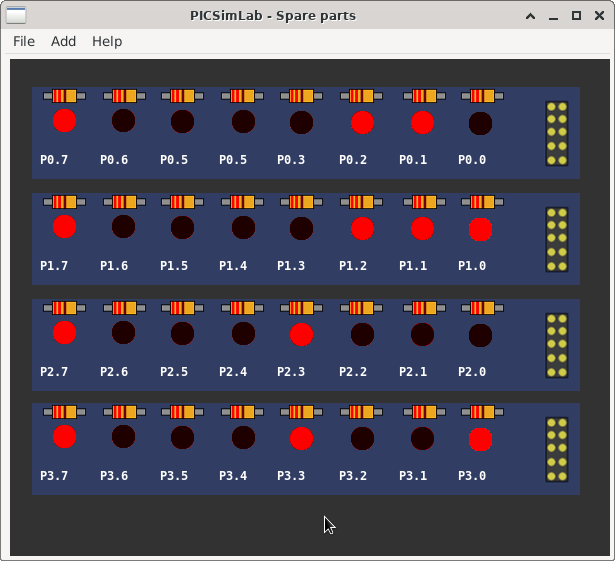
[uCboard/Z80/LED_blink] Z80 SDCC led blink// Example of use of uCboard 8255 // compile with: sdcc -mz80 led.c -o led.hexSource code | |
 |
Download (pzw)
View Online |
[Xpress/PIC16F18855/Led_Sequencer]LED SequencerSimple LED Sequencer code example. Press the switch to change direction and use the potentiometer to change speed. MPLABX blinkseq project | |
 |
Download (pzw)
View Online |